How to Build a Second Level Deck with a Dry Space Below - Part 1
By
Steve Getsiv,
10/31/24
Background Details
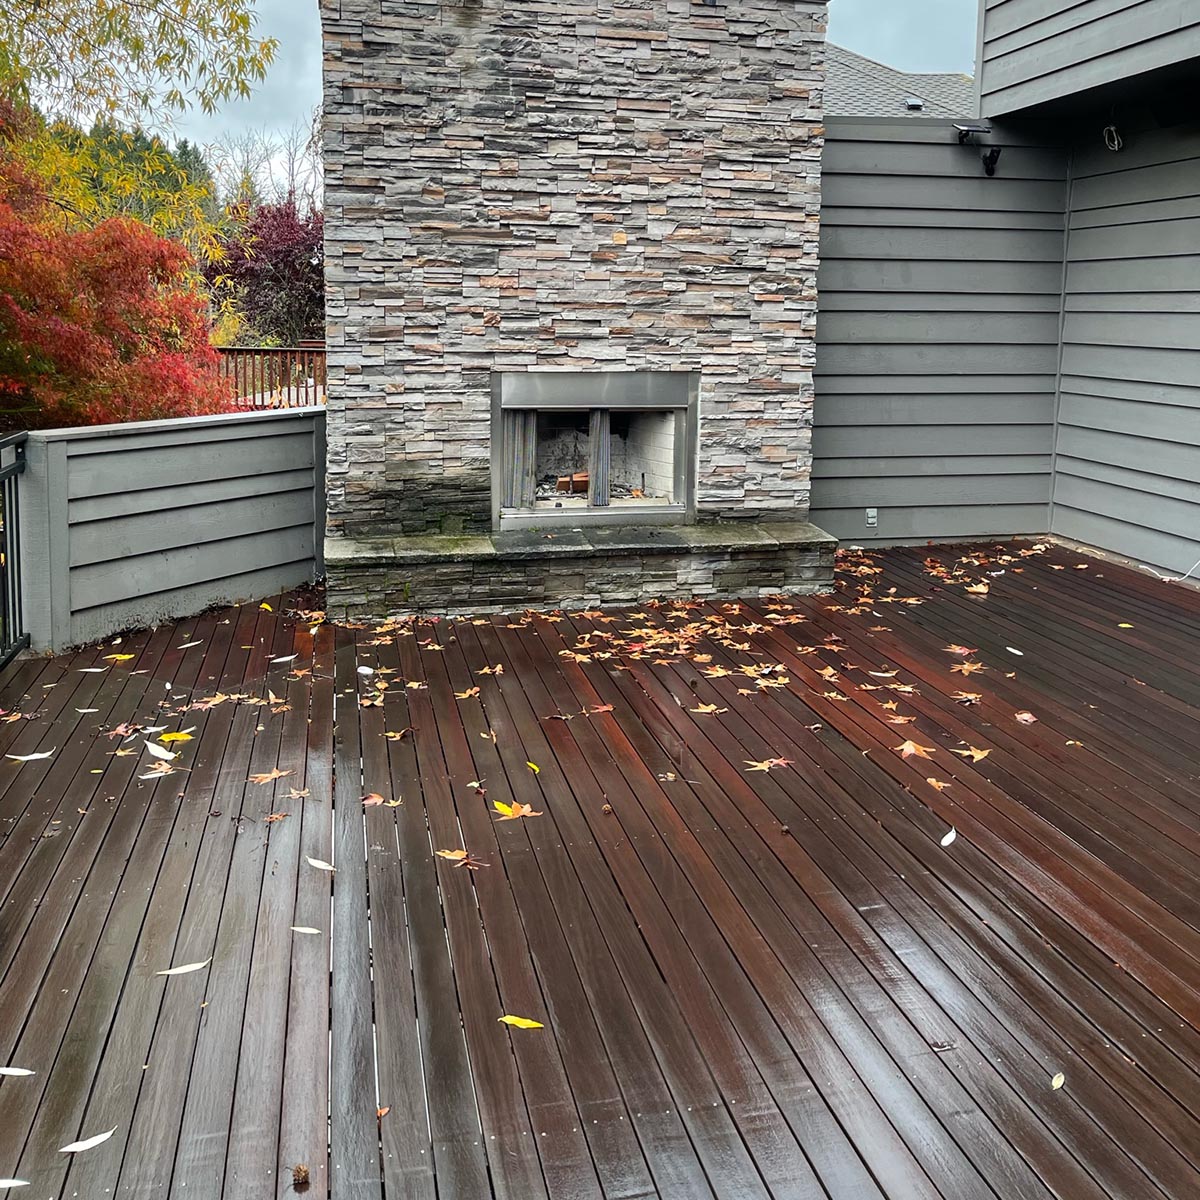
When we bought our house in 2007, there was a newly remodeled outdoor living space which included an upper and lower deck, both with slate tiles and wood burning fireplaces. Initially, we loved these spaces and the lower deck stayed mostly dry. Unfortunately, the construction standards were not all that great and the leaks from the upper deck got to be too much. In 2010, we ended up pulling up all the slate tile on the upper deck and resealing the substrate. We installed a beautiful 1x4 Cumaru hardwood deck which held up great for another 5 years. Then the substrate failed (again) and we pulled the hardwood deck, labeling everything so we could put it all back in the same order. This time we sealed it with a high quality 50 year guaranteed silicon sealer. Unfortunately the damage was already done and the corners of our deck began to settle. Fast forward to 2024 when we finally decided to rebuild the entire structure and do it correctly.
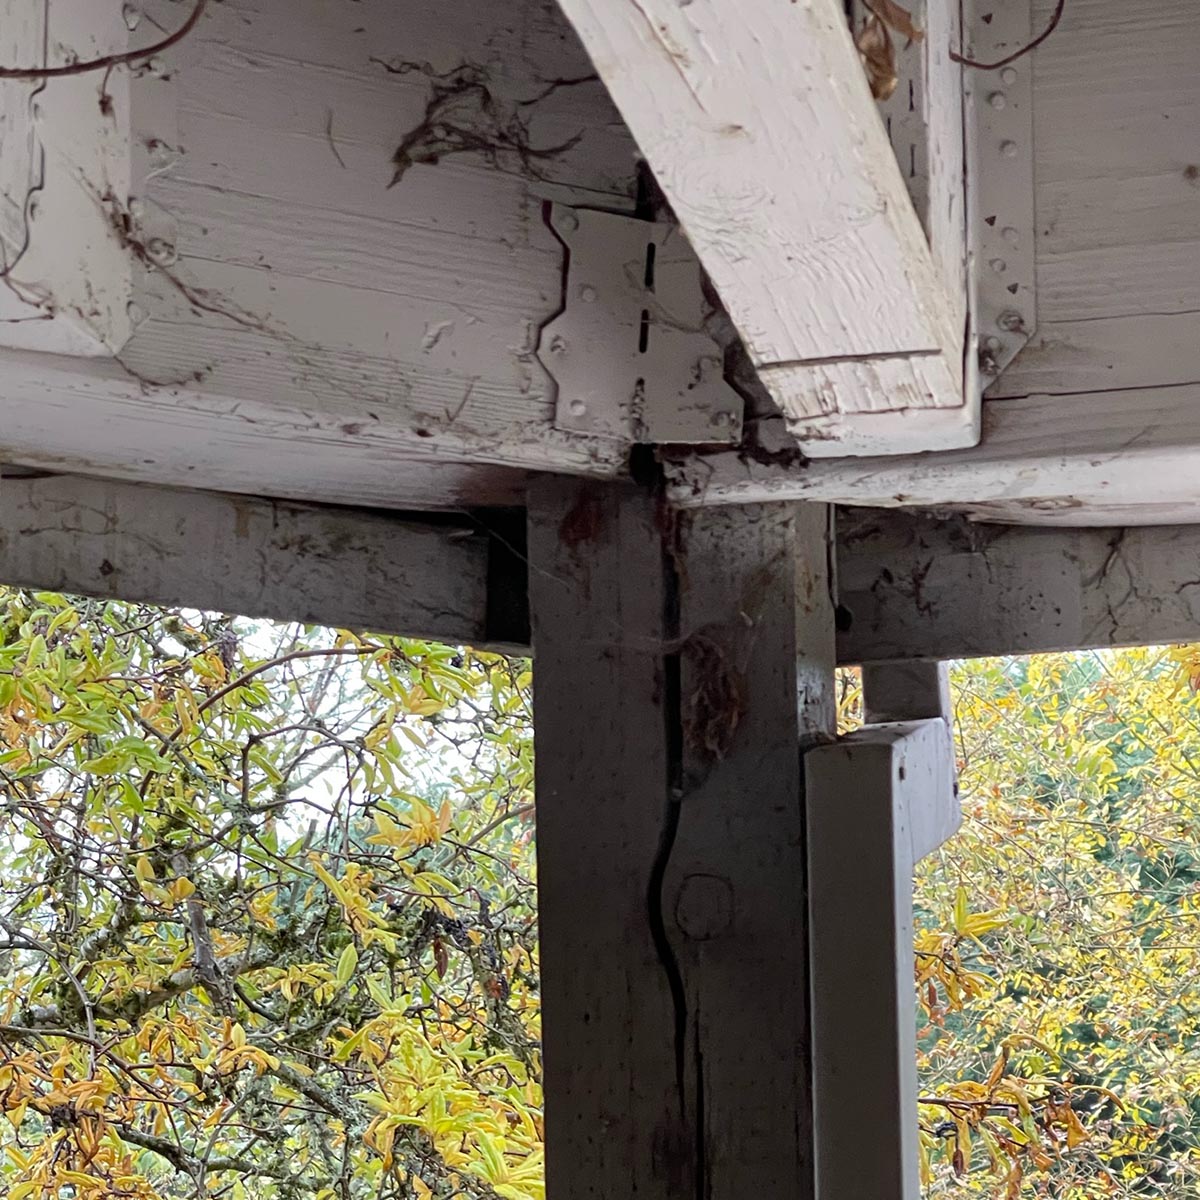
We were really sad to see just how much damage had occurred after only 20 years. Clearly the previous build was not done right. The posts were embedded by about 2" into the glue lam beam.
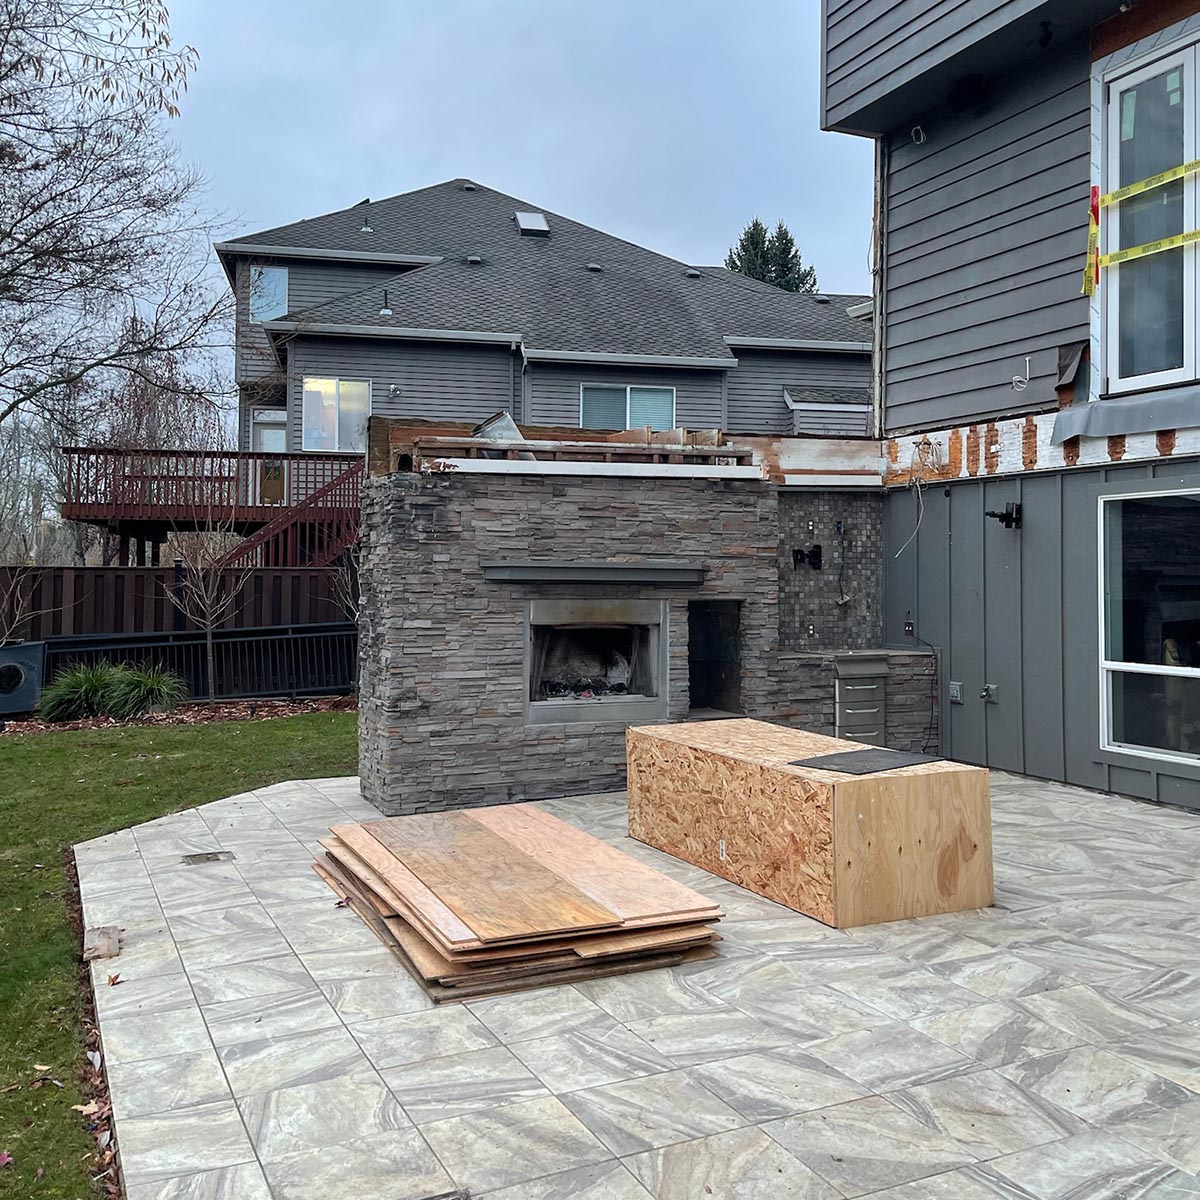
We had to pull the fireplaces on both levels of the deck. The original deck was built around the fireplace structure which allowed moisture to penetrate at the perimeter.
Project Description
Working closely with our contractors, Neil Kelly of Portland, OR (huge thanks to Severin Holden, Shane Longie, Shane Patrick and Fabian Genovesi), we re-designed the structure with steel posts, concrete footings, tapered joists (in order to have a flat ceiling and a 3/16" per foot slope on the upper deck), new glulam beams, and most importantly an 80 mil TPO membrane similar to how you would seal off a flat commercial roof. The contractors turned over the structure to me for assembly of the hardwood railing and deck system. Being a long time hardwood decking industry expert, I wanted to test out our products including our Red Balau, Batu hardwood, ExoDek QuickClips, and our ExoShield wood stain. The clips and wood stain are both products I helped design so this was my big opportunity to truly test out this system of products on my own home.
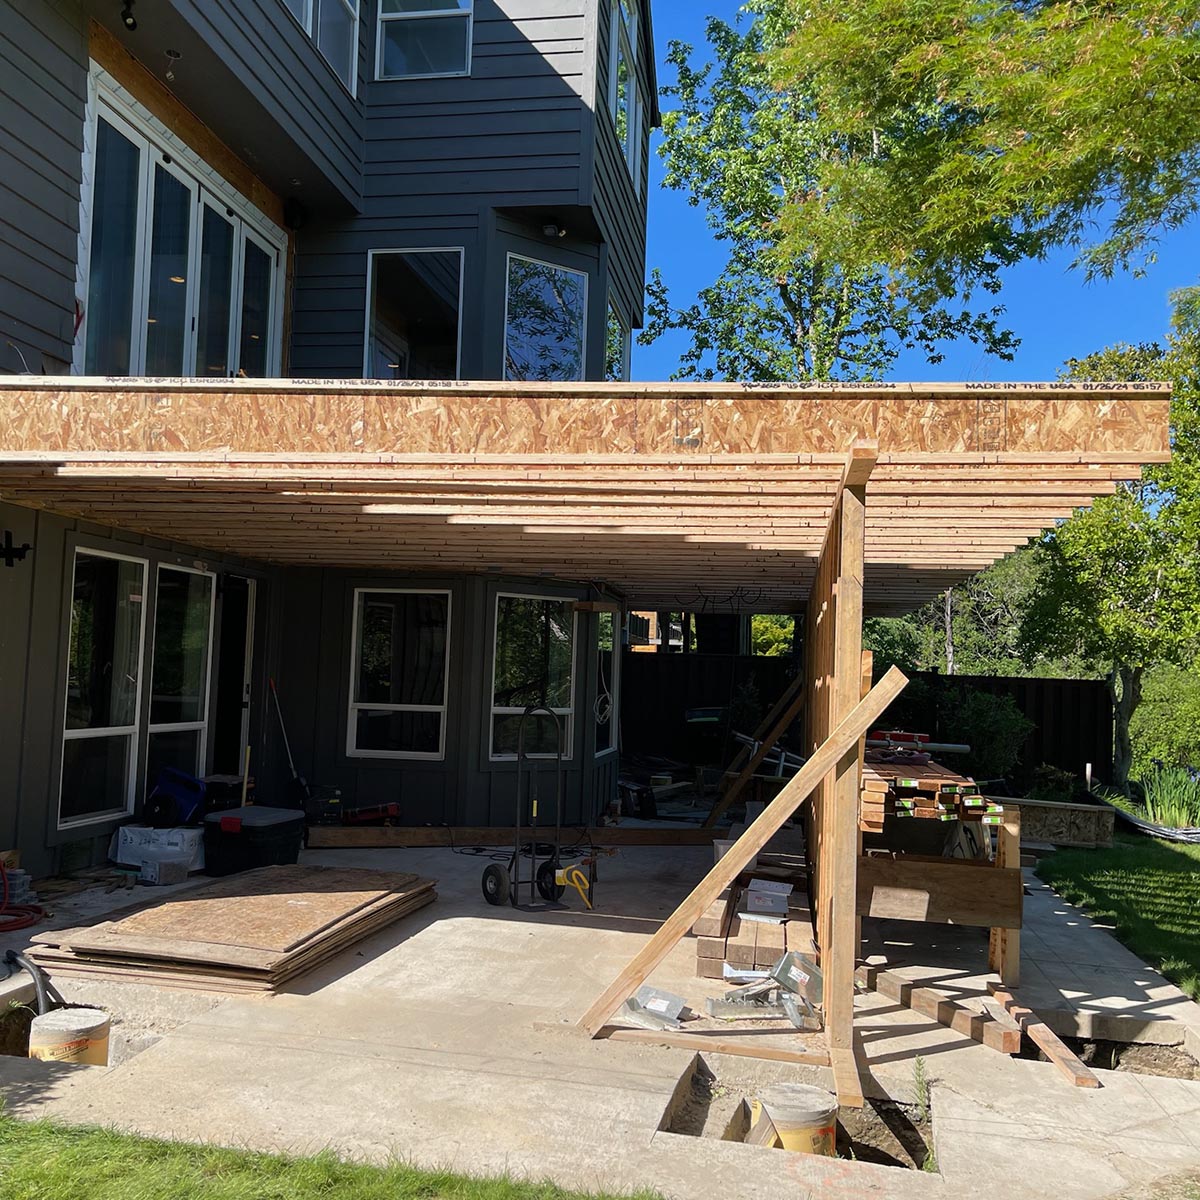
Tapered joists allow you to have a flat roof underneath the deck and give you a nice gentle slope so water drains off the main deck. Our joists have a 3/16" per foot taper.
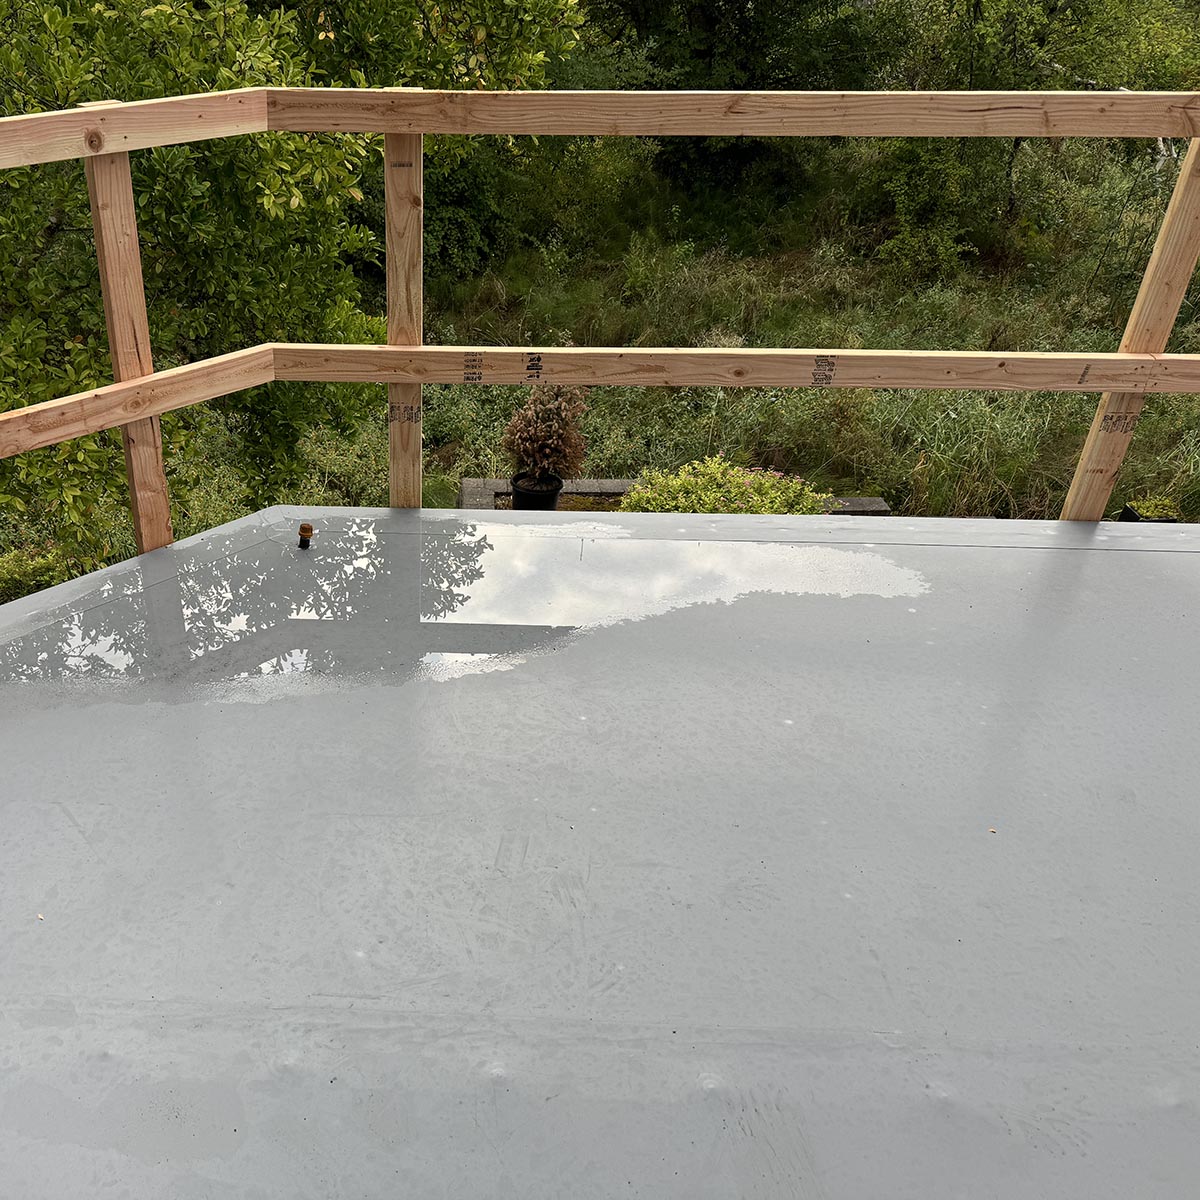
Pioneer Roofing supplied and installed the 80 mil TPO Membrane. The membrane goes up the side of the house by 12" and is seam sealed at all joints and double sealed around the post bases. We had to use a tapered post base made from PVC before installing the railing system.
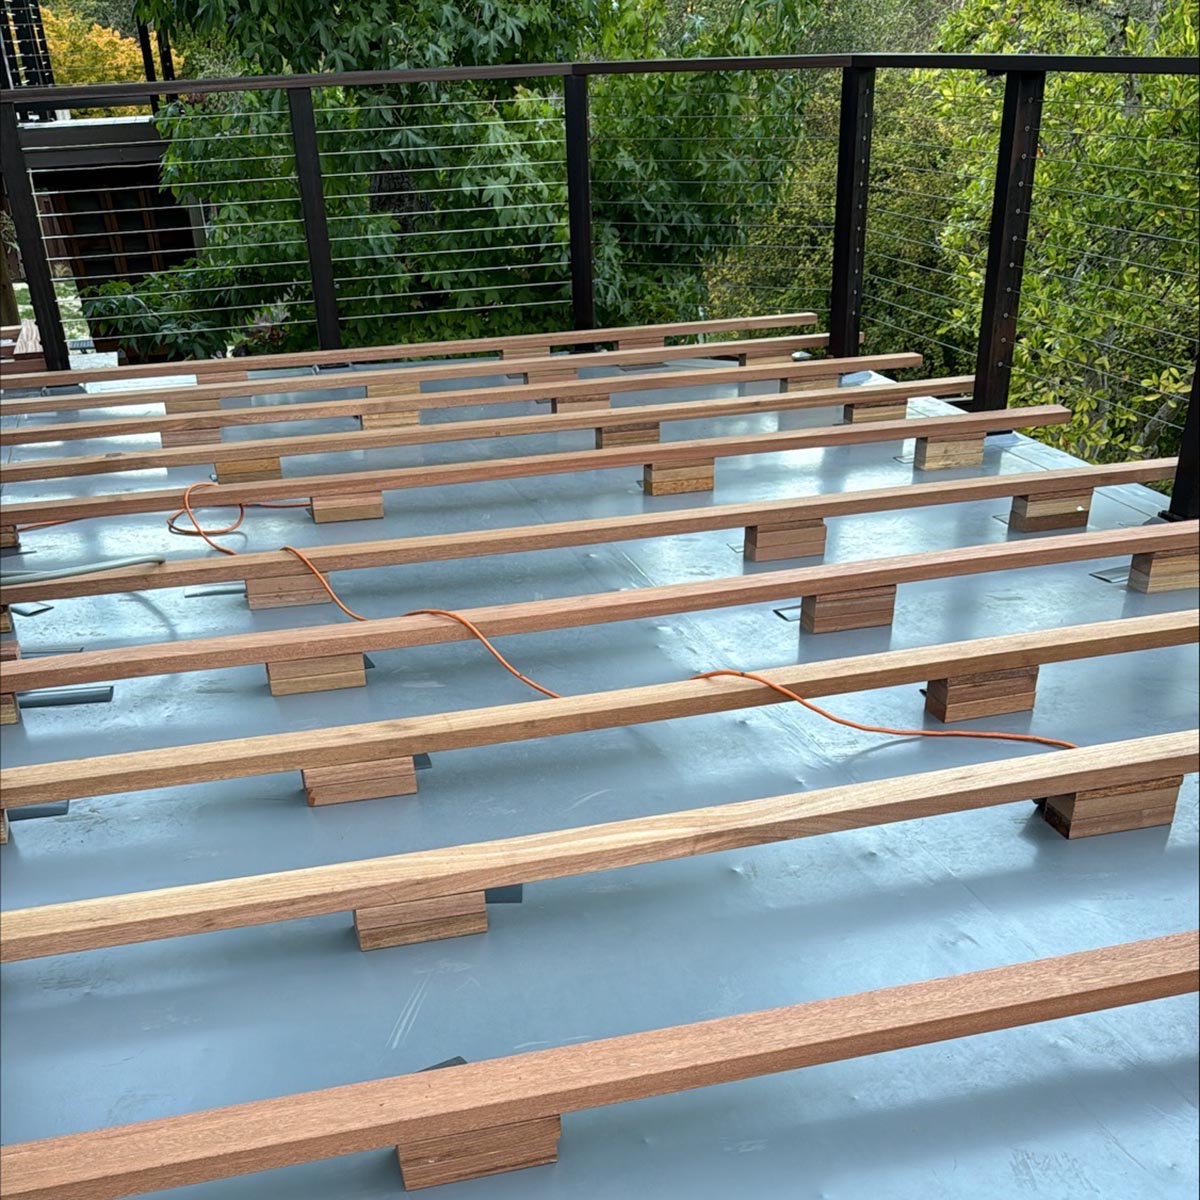
Naturally durable hardwood is 3 times as strong as standard pressure treated lumber. And it's 6 times as expensive. But there is just no substitute for doing it right. We used 2x4 Red Balau flatwise for the main sleeper joists. We cut the pedestal blocks out of Red Balau and Golden Balau. The pedestals range from 3/4" at the house all the way up to 4-1/4" furthest away from the house.
Here's a complete list of the products I used by application:
- Golden Balau, Bangkirai 4x4 Posts, Stained with ExoShield Total Eclipse
- Titan Post Mounting Brackets, courtesy of Decks Direct, and now they just won't stop emailing me
- FastenMaster TimberLok Torx Drive Screws in 4" and 6" lengths
- Red Balau, Batu 2x6 Top Rails, Stained with ExoShield Total Eclipse
- Feeney Stainless Steel Cable Railing System, courtesy of Lakeside Lumber, Tualatin, OR
- FlexFire LED RGB+W Exterior Rated lights, mounted to underside of 2x6 top rails
- Red Balau, Batu 5/4x6 Pre-Grooved Deck Boards
- Nova's ExoDek QuickClip hidden fastener system
- Nova's ExoShield Natural (70%) and Total Eclipse (30%) exterior wood stain on 5/4x6 Deck Boards
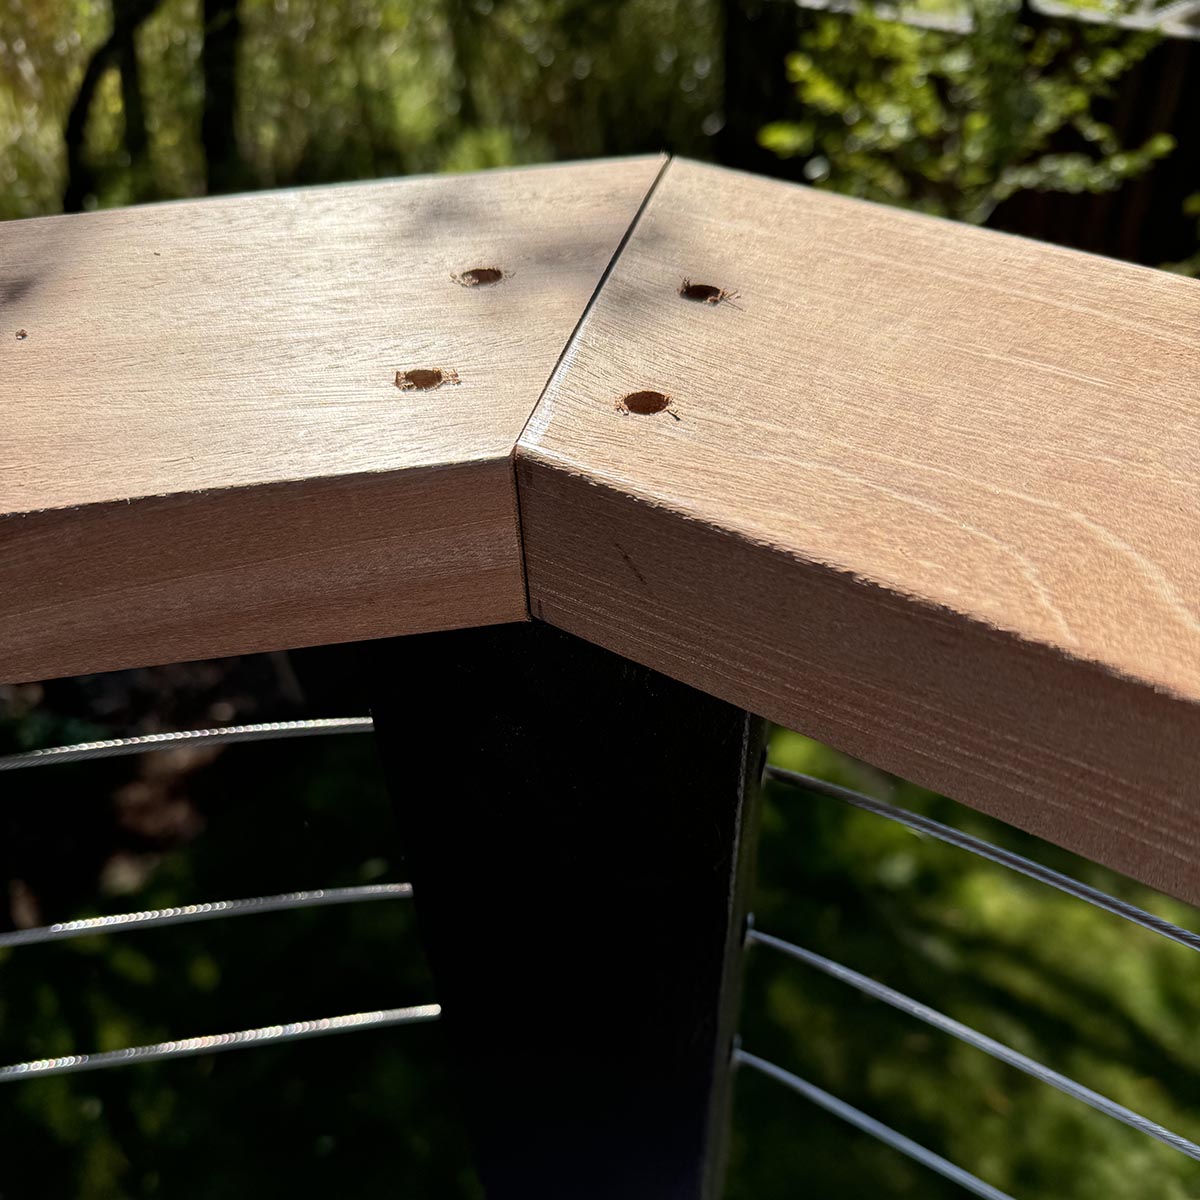
It's always risky to do mitered corners with hardwood decks. The 45 degree corners should give us less trouble. All end grains are sealed with wax - UC Coatings Anchor Seal. We used the Festool Domino with Sipo Hardwood Tenons. Starborn Pro Plugs were used to hide the fasteners.
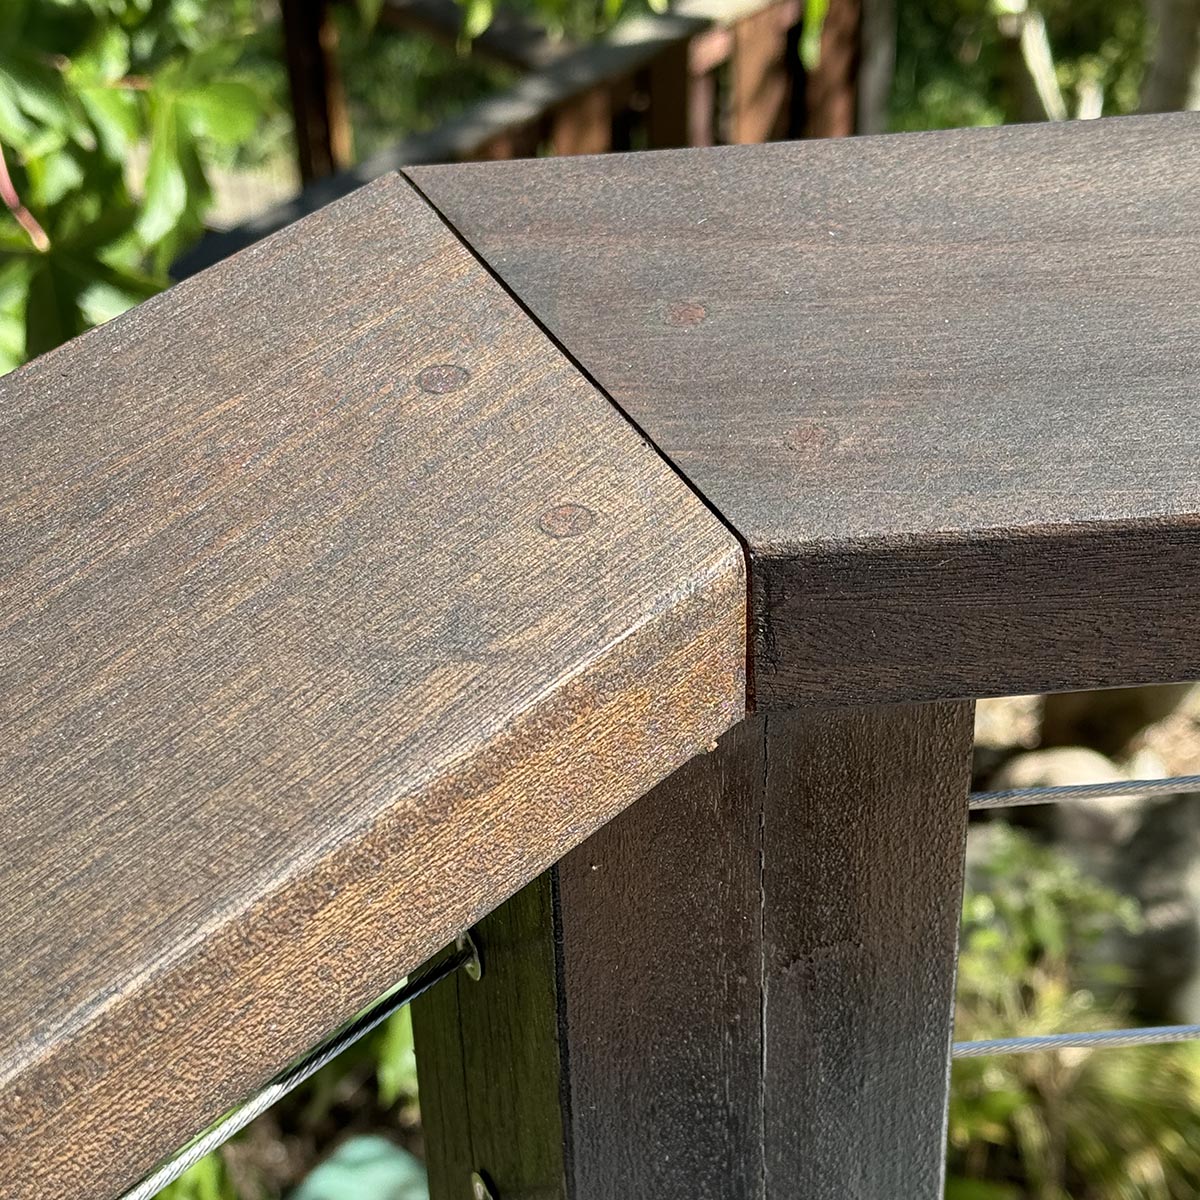
Final corner assembly after plugs and finish in ExoShield Total Eclipse.
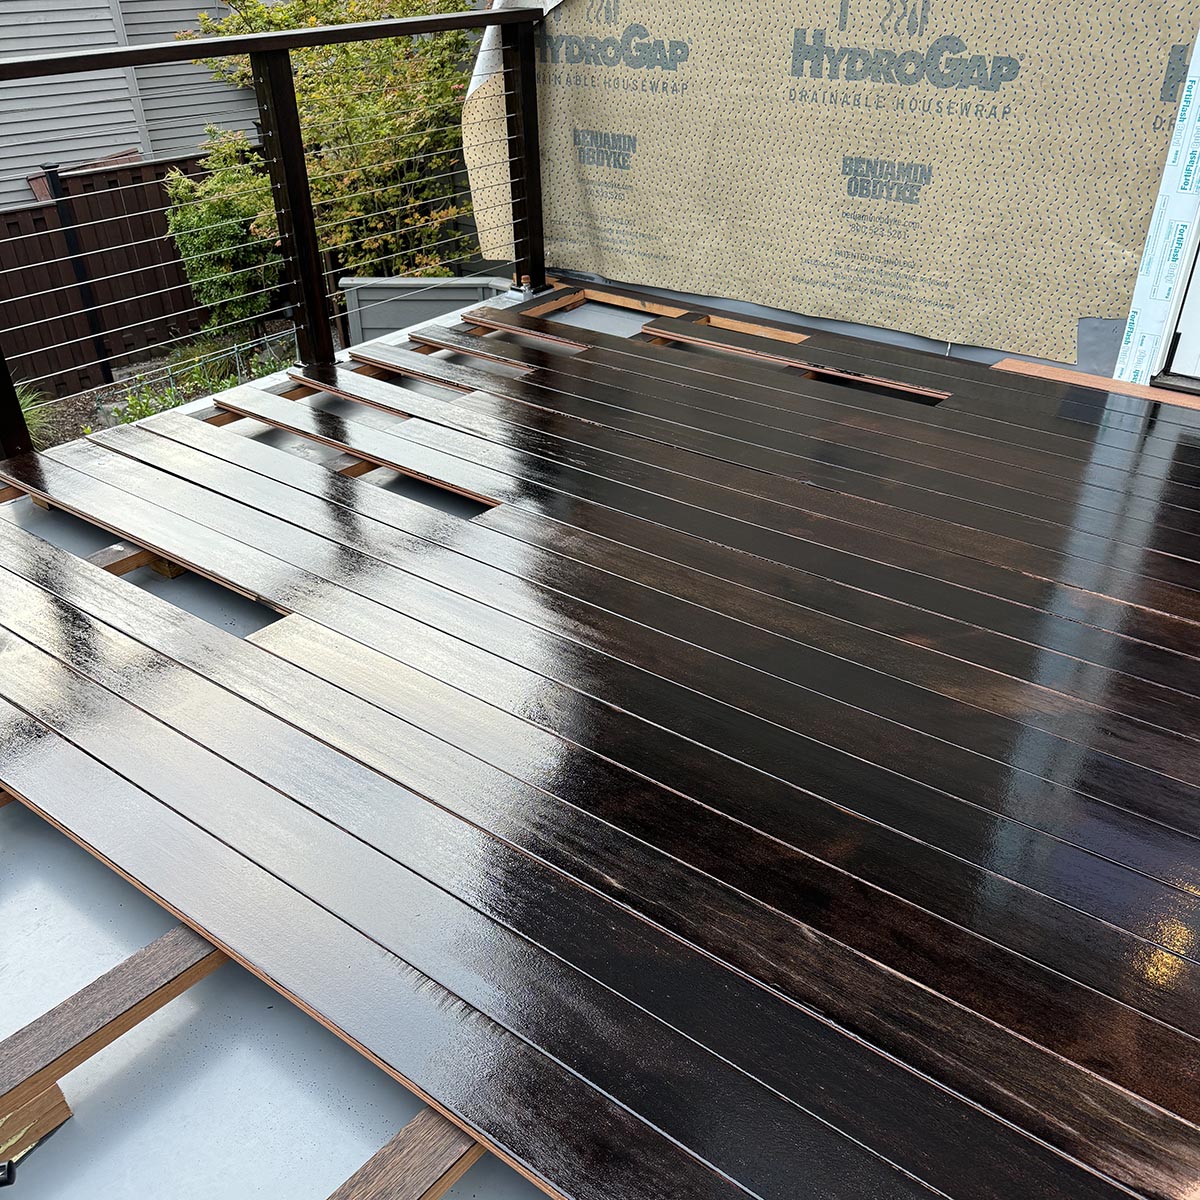
Finishing the backsides of your deck boards is a critical step to ensure that moisture doesn't get sucked up into the boards from the bottom. In a challenging application like this, especially using 6 inch nominal boards with only 2-1/4" to 6" of clearance, everything has to be done perfectly or we risk cupping, warping, and buckling.
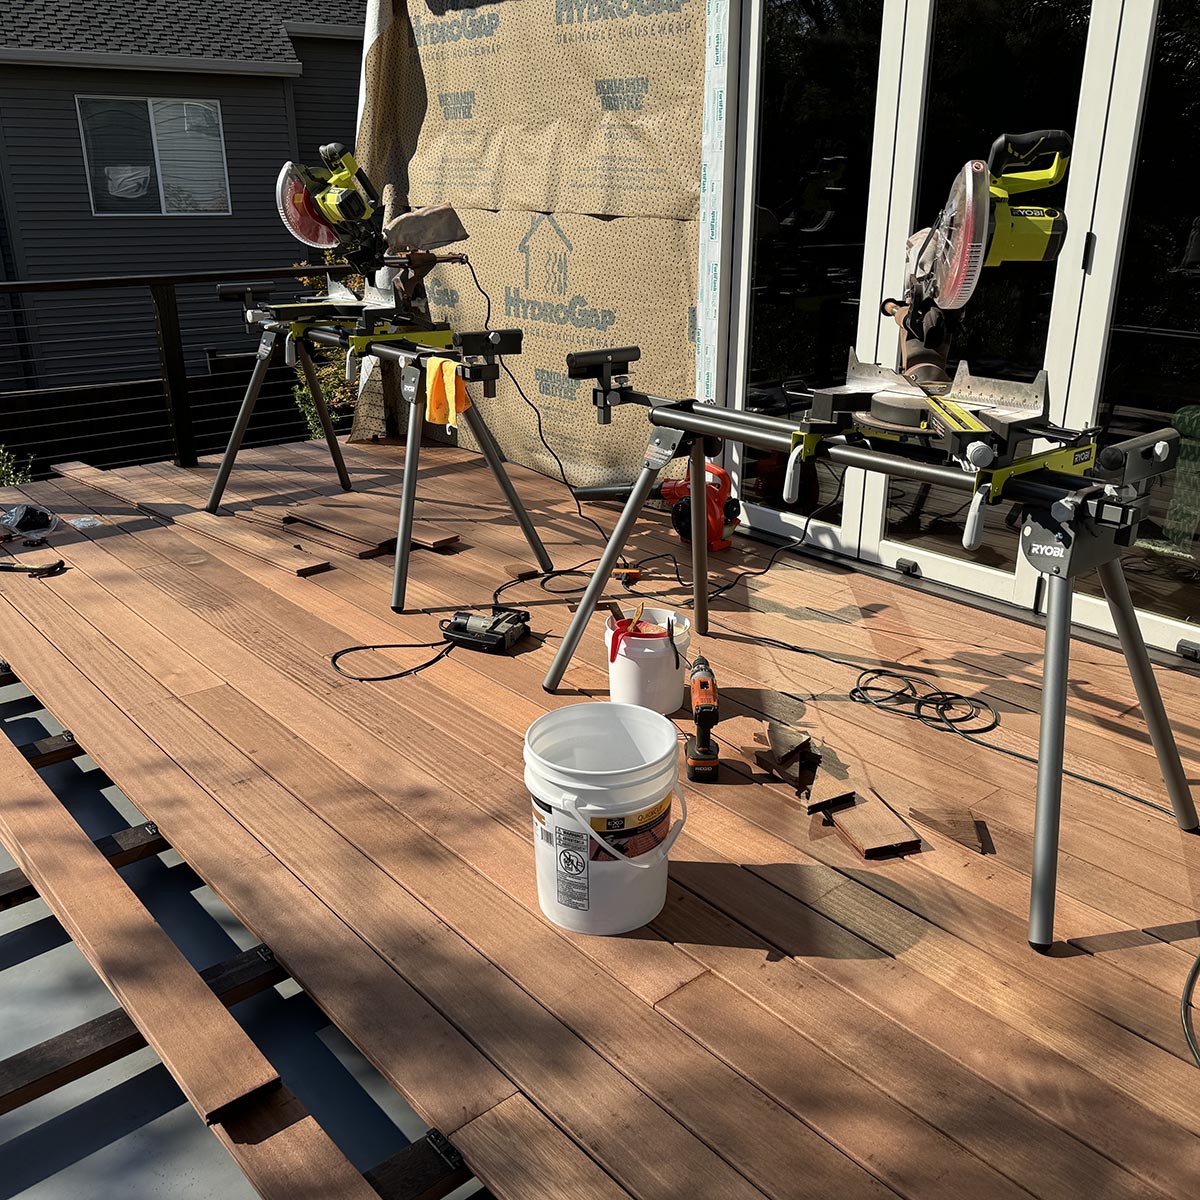
On day 2 of deck assembly, my first stop was at Home Depot to pick up a pair of miter saws on stands. We won't talk about how I felt after day 1 of deck assembly. Best purchase ever.
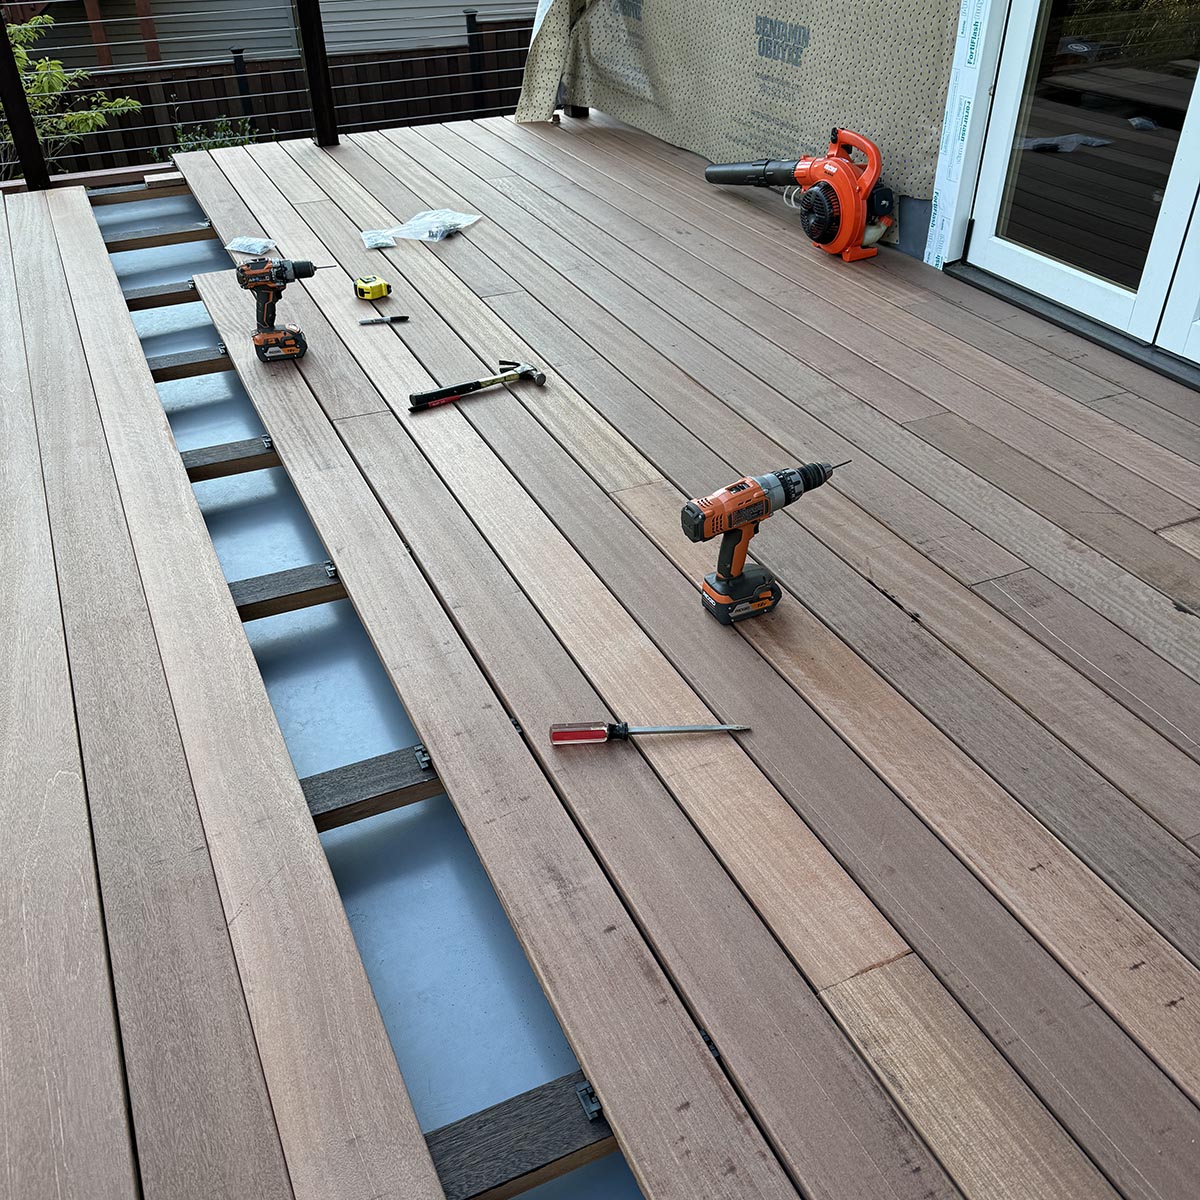
Assembling the deck boards and QuickClips was actually far easier than I expected. Boards were moved into place with blocking as needed. I ran most of the material "horns in" if there was any side bend. Then all you have to do is put some pressure on the center board to get it straight. The clips themselves hold a 1/4 inch gap. We need this much spacing to ensure adequate air flow and so when the boards take on moisture over the rainy season they have some room for expansion.
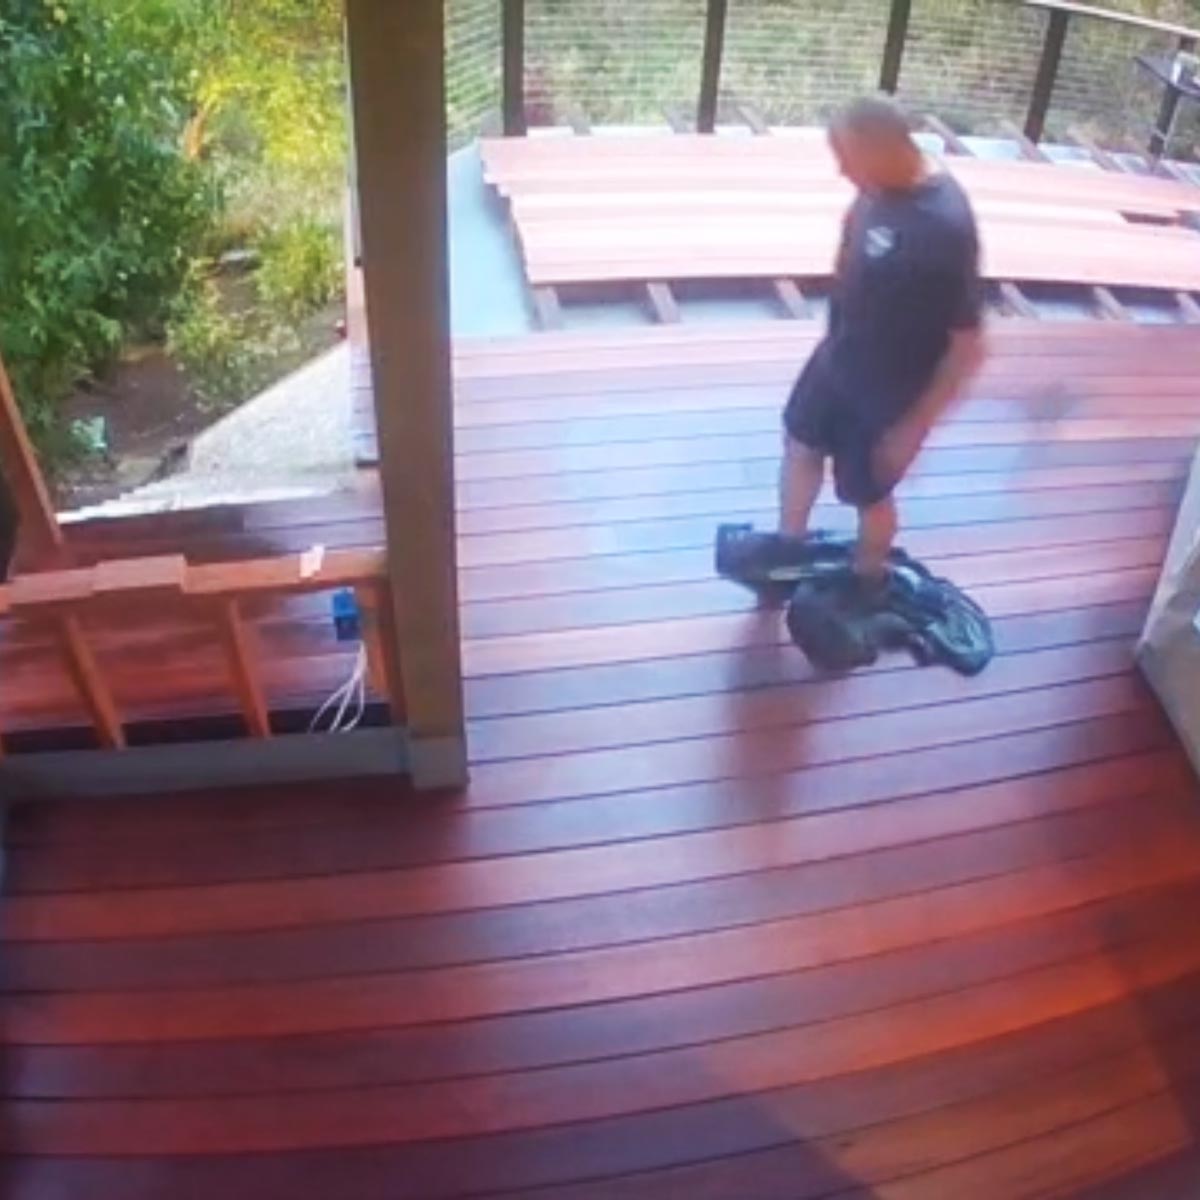
The most important step when coating your deck with an oil based finish such as ExoShield is to wipe down your deck after finishing. I always use a large beach towel, much to my wife's chagrin. This particular towel had already seen some garage duty and it was certainly no gem.
Overall Results
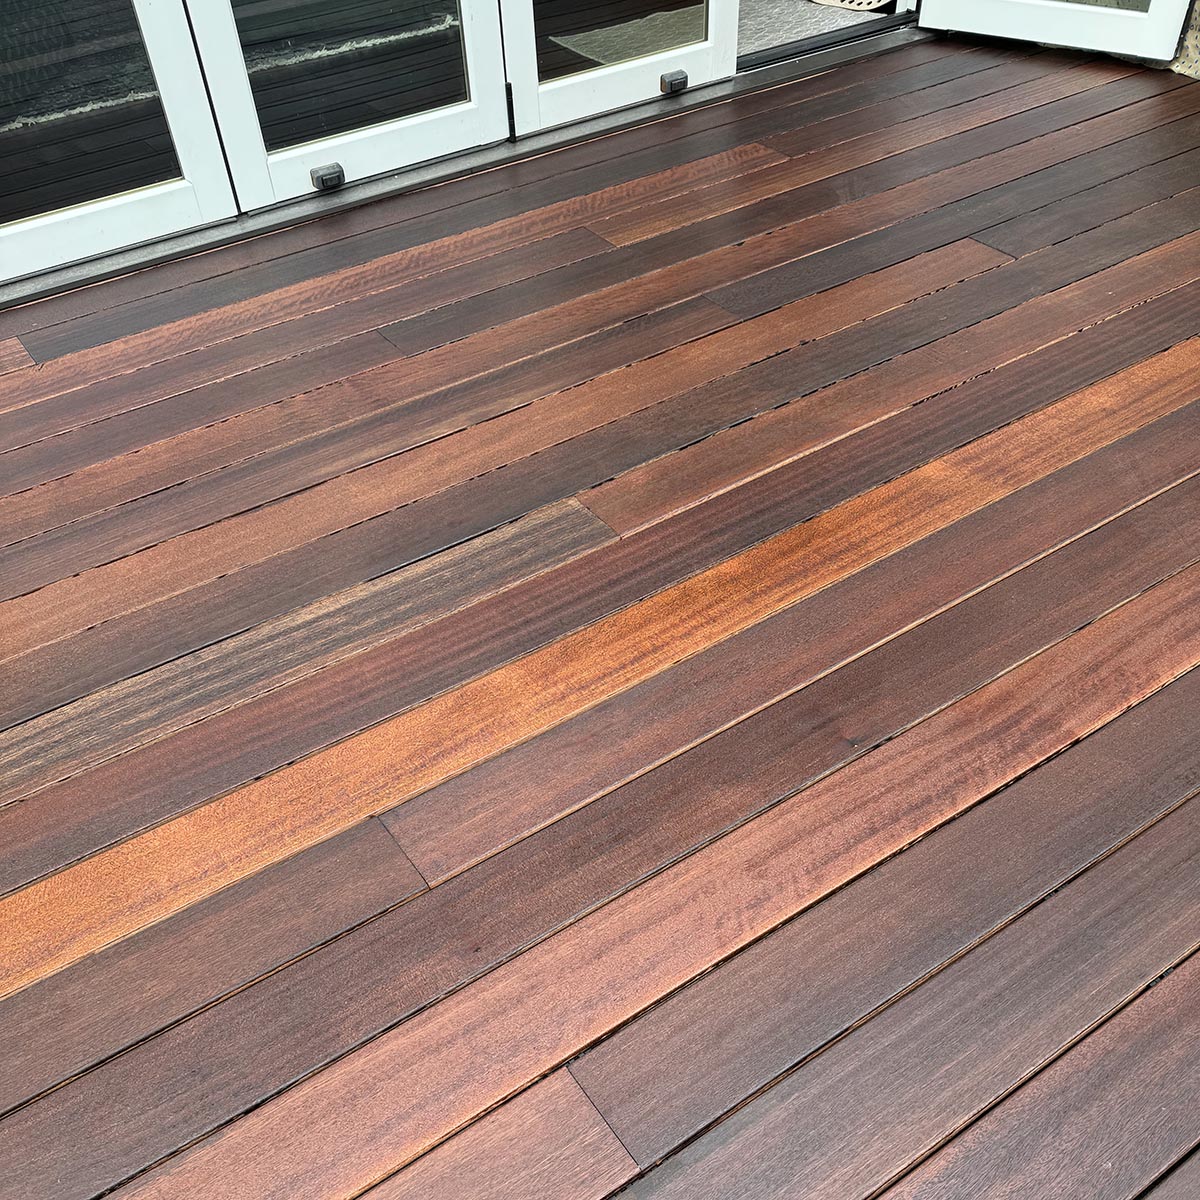
Honestly, I could not be more impressed at how easily all these products work together. All of these materials are best-in-class. It took me just over 6 full work days to assemble and finish everything. I had a helper for an additional 12 man hours. Total man hours was around 80 to build the entire deck project including the hardwood understructure on top of the TPO membrane. My contractors installed the new Ambara lower deck ceiling as well as all tile and stone work around the new fireplace on the lower deck. Stay tuned for pictures.
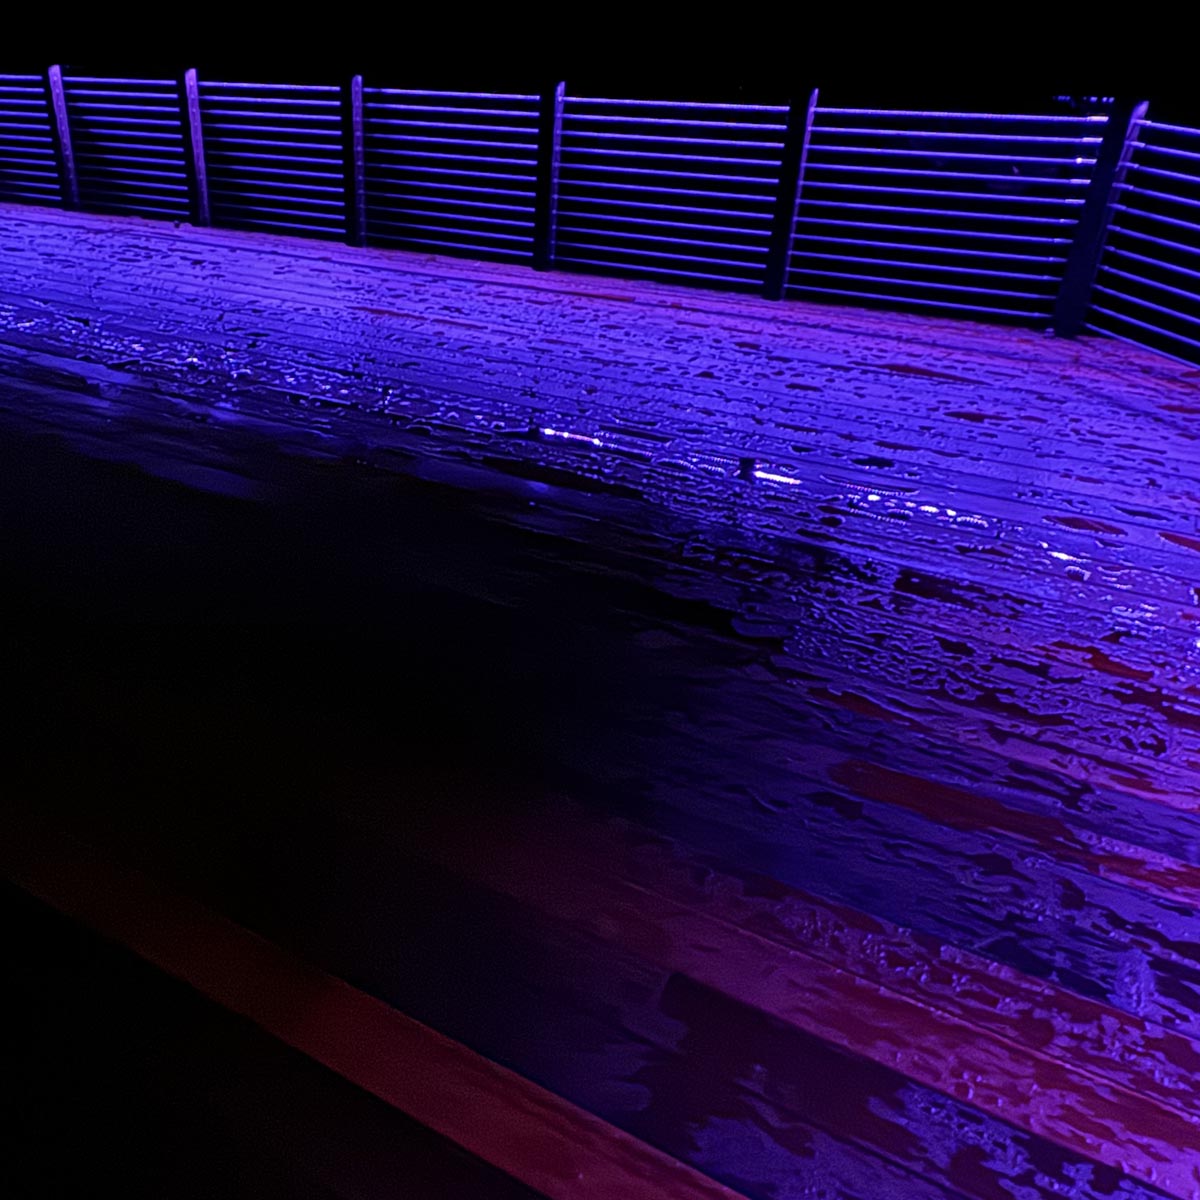
The LED lights were inserted into a groove cut in the bottom of the 2x6 top rails. They look super cool at night.
There is still more work to be done. I will post another article to show the final project in a couple months.
By
Steve Getsiv,
10/31/24
Comments?
Display Name:
Contact Email:
please be respectful of others' opinions and do not use profanity.
comments may be edited for objectionable content.
Email addresses are not publicly posted, and are used to follow up directly with your comment as needed.


